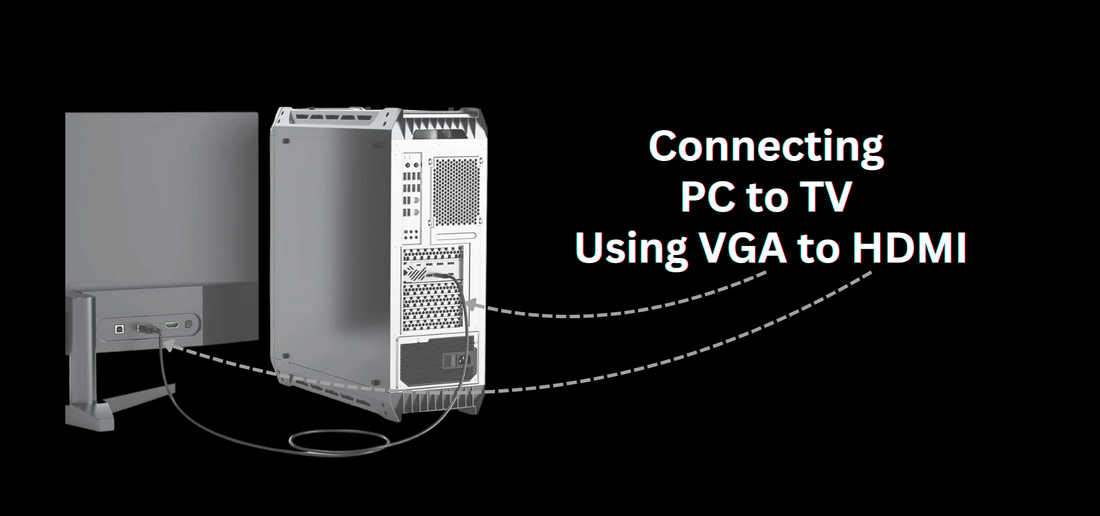
Connecting your PC to your TV can enhance your viewing experience by allowing you to use the larger screen for presentations, streaming, gaming, or simply for a bigger display.
If your PC has a VGA output and your TV has an HDMI input, you'll need a VGA to HDMI cable or adapter to bridge the gap. Here’s a step-by-step guide to help you achieve a seamless connection.
Step 1: Gather the Necessary Equipment
- VGA to HDMI Adapter or Cable: Ensure you have a reliable VGA to HDMI adapter or cable. Some adapters come with an additional audio input to transfer sound from your PC to your TV.
- VGA Cable: If you’re using an adapter, you’ll need a VGA cable to connect your PC to the adapter.
- HDMI Cable: This will connect the adapter to your TV.
- Audio Cable (Optional): If your adapter supports audio, you’ll need a 3.5mm audio cable to transmit sound.
Step 2: Connect Your PC to the VGA to HDMI Adapter
- Turn Off Both Devices: Power off your PC and TV to prevent any potential damage while connecting the cables.
- VGA Connection: Connect one end of the VGA cable to the VGA port on your PC. Secure it tightly with the screws to ensure a stable connection.
- Adapter Connection: Attach the other end of the VGA cable to the VGA input on the adapter.
Step 3: Connect the Adapter to the TV
- HDMI Connection: Connect one end of the HDMI cable to the HDMI output on the adapter.
- TV Connection: Plug the other end of the HDMI cable into an available HDMI port on your TV.
Step 4: Connect Audio (If Needed)
- Audio Cable: If your adapter has an audio input and you want to transmit sound, connect one end of the 3.5mm audio cable to your PC’s audio output (headphone jack) and the other end to the audio input on the adapter.
Step 5: Power Up and Configure
- Turn On Devices: Power on your PC and TV.
- Select HDMI Input: Use your TV remote to select the HDMI input to which your adapter is connected. This is usually done through the 'Input' or 'Source' button on the remote.
- PC Display Settings: On your PC, right-click on the desktop and select 'Display settings' or 'Screen resolution' (depending on your operating system). Ensure your TV is detected as a second display.
- Adjust Resolution: Set the resolution to match your TV’s capabilities. Typically, 1920x1080 (1080p) is a safe choice for most modern TVs.
Step 6: Fine-Tuning and Troubleshooting
- Adjust Display Settings: If the display doesn't fit properly on your TV screen, use the scaling options in your PC’s display settings to adjust the size.
- Sound Settings: If you’ve connected an audio cable, ensure your PC’s sound settings are configured to output audio through the connected device. Go to your PC’s sound settings and select the appropriate audio device.
- Check Connections: If the display or sound isn’t working, double-check all connections. Ensure cables are securely plugged in and the adapter is functioning properly.
Connecting your PC to your TV using a VGA to HDMI cable or adapter allows you to enjoy a larger display for various activities. By following these step-by-step instructions, you can set up the connection quickly and efficiently.
Ensure you have all the necessary equipment, make the right connections, and configure your settings for optimal performance.
Enjoy the enhanced viewing experience on your big screen!

